

October is knocking on the door which means exiting times from a Power Platform point of view. The 2019 release wave 2 is coming to us. Let us not be washed over, instead let us surf it and have some fun. There are a lot of new features and improvements to discover.
This blog post will be dedicated to the new (or rather rebranded) feature Dataflows and how you can set up a Dataflow which gets data from a Web API and writes it to the CDS. We will also create a Model-Driven App in which we can work with this data.
In the real world outside of this “exploring new features” world, of course you would need to analyse what is really needed here depending on your business case and requirements. Perhaps it might be a better choice to have a Canvas App and just display data from the Web API. I wrote about that in another blog post.
But let us assume that we actually want to have the information stored in an entity in the CDS, perhaps we want to use it as part of a bigger solution and have some business logic related to it.
Data Integration rebranded to Dataflows
I have earlier written three blog posts about Data integration in Power Platform, the first one is found here. In this second wave of updates for 2019 Microsoft separates the terminology for Data Integration in maker portal versus the admin portal. We will still have Data Integration in the admin portal, however in the maker portal what was previously called Data Integration now has the name Dataflows. Data Integration in maker portal simply rebranded to Dataflows.
Getting started with Dataflows
First navigate to the maker portal. Go to Data, Dataflows and click New dataflow.

Now here is a new “2019 release wave 2” look for this feature. Here you get to type in a name for your dataflow. You may also want to choose “Analytical entities only”. Read more about that in the blog post I refer to in the end of this blog post.

After that you get to choose data source. As mentioned in this case we want to get data from a Web API. In my previous blog post I used the Trefle Web API, which can provide us with information about plants, let us use that same API here as well.
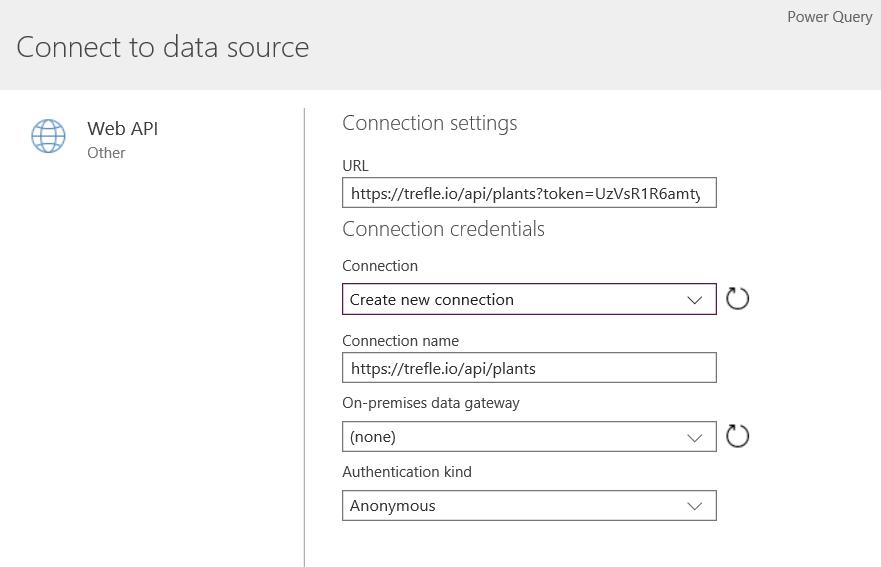
When choosing Web API as data source you get to type in an URL and connection credentials. In the Trefle case you get an access token to use when you create an account on their website.
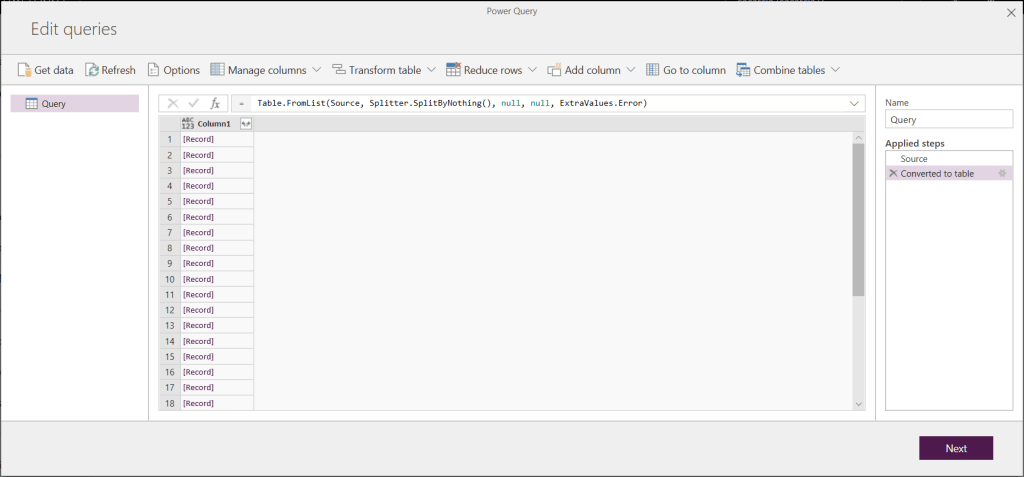
Next you get to use your Power Query skills. What happened when I used a Web API as data source was that I got this.

Clicking on each record gives me the data I am interested in, but what to do with it in order to be able to map it to an entity? Looking at the options we have there is a button “Convert to table”. Clicking there gives you this:
Now we can click on the icon in the column header, the one with the two arrows, in order to split it up into several columns. Then just click OK.
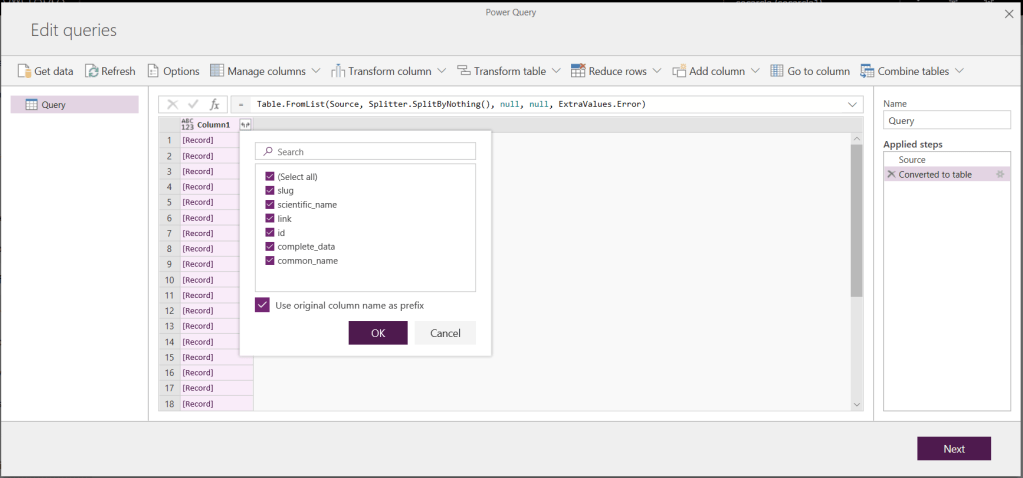
Tada! Now it is starting to look like something we could actually map to an entity.
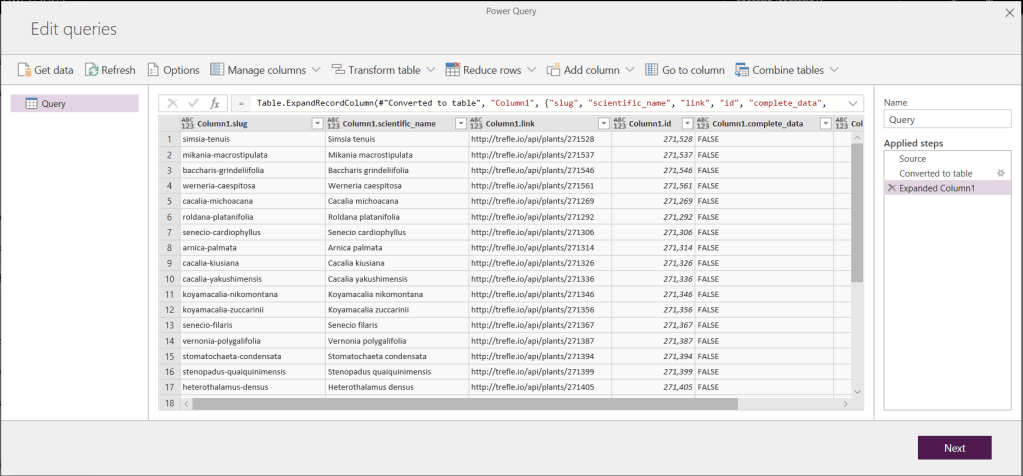
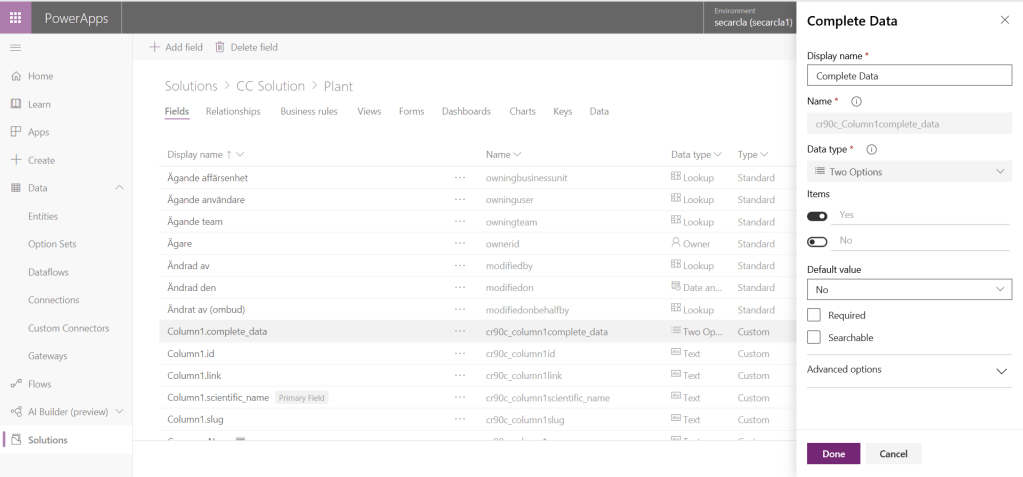
Now me might want to change the format of the data which you can do by clicking on the icon to the left of the column name. E.g. I changed the Complete Data column to True/False in order to get map to a checkbox in the CDS.

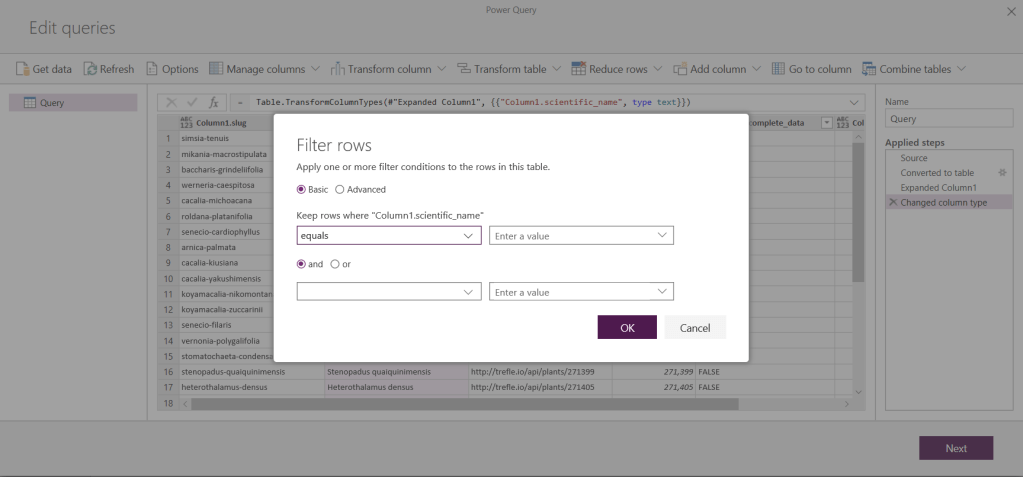
Other things you can do here is e.g. to filter the data if you would want that. Perhaps you are not interested in all the information you got from the Web API. Then you use the arrow to the right of the column name.

Here you can use select/unselect or you can click on Text filters in this case and you get to set a certain filter.
When you are done with the data preparation in Power Query you move on to the next page where you get to map the data to the CDS. Here you can either choose to map to an existing entity or you let the Dataflow create a new entity for you.
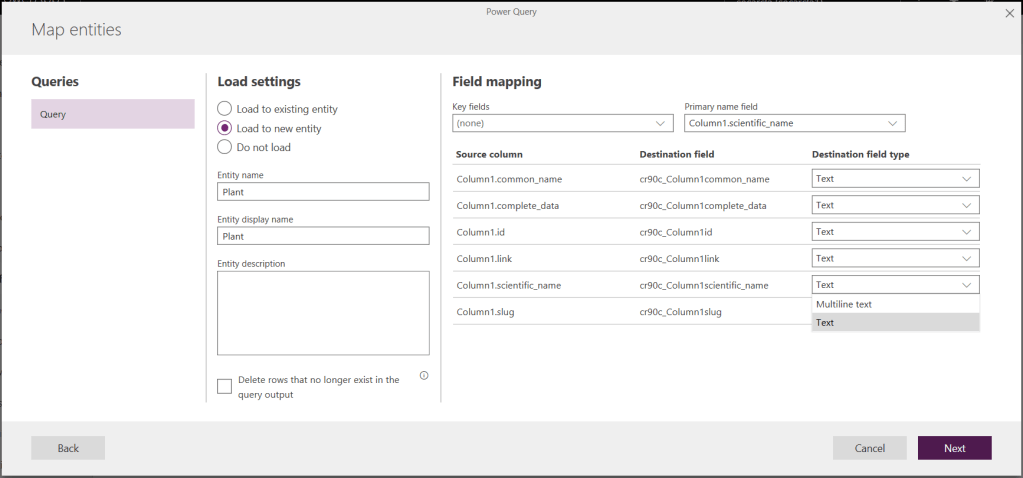
I tested the alternative Load to new entity this time, i.e. a new entity will be created. Now perhaps you think – What about the prefix for that entity and for its fields? Well, good thinking! We want our prefixes to be consistent, ideally we work in a solution with a publisher who has a certain prefix.
Now when I tested this, I did not find a way to choose your own prefix and I cannot see that we can create a Dataflow from within a solution either (and by that get the prefix which is set for the publisher). If you know anything about that, please let me know. I need to check it out further and if it is not coming to us soon, this should be registered as an idea in the PowerApps Ideas Forum.
Until there is a choice to create the entity and get the correct prefix that you are using, e.g. by creating the Dataflow from within a solution, I recommend that you create the enitiy in the CDS manually first and then you create your Dataflow. With other words – What I am doing here, do not try this at home (and not at work either).
Moving on. You will need to specify one of the fields as a key or you get this message.
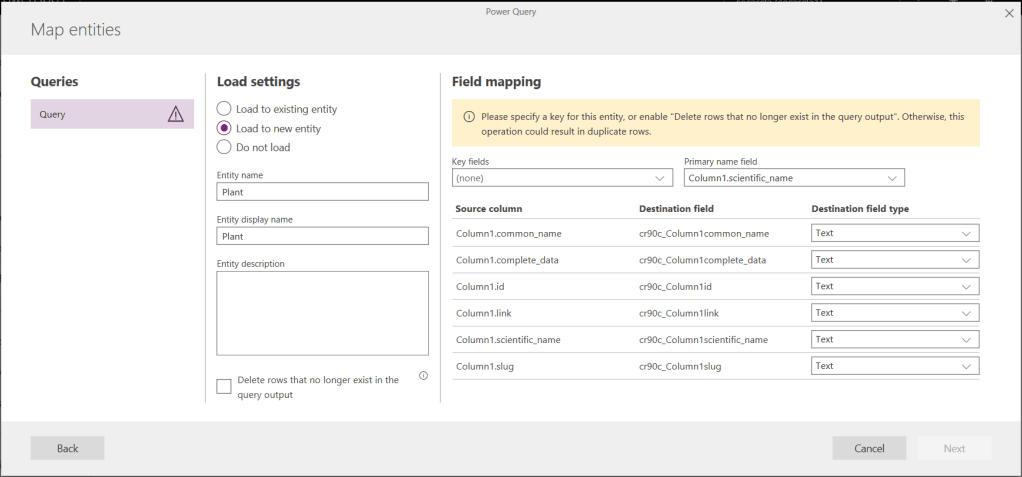
Actually, either you need to specify a key or you need to check the checkbox “Delete rows that no longer exist in the query output.”, the latter I assume means that if a certain plant in my case is not in the Web API anymore then it will be removed from the CDS as well. I have not tested this though.
When you are done with the mapping your Dataflow is ready to be run. If you have chosen to load into a new entity you will now see the progress as below.
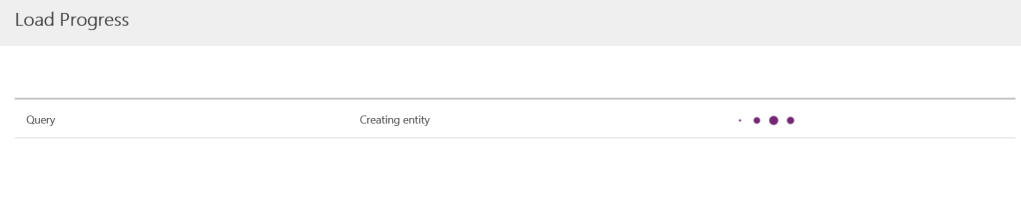
And then.. Completed!

Congratulations, now you have your Dataflow setup and hopefully your data is in the CDS.

Creating a Model-Driven App which includes the newly created entity
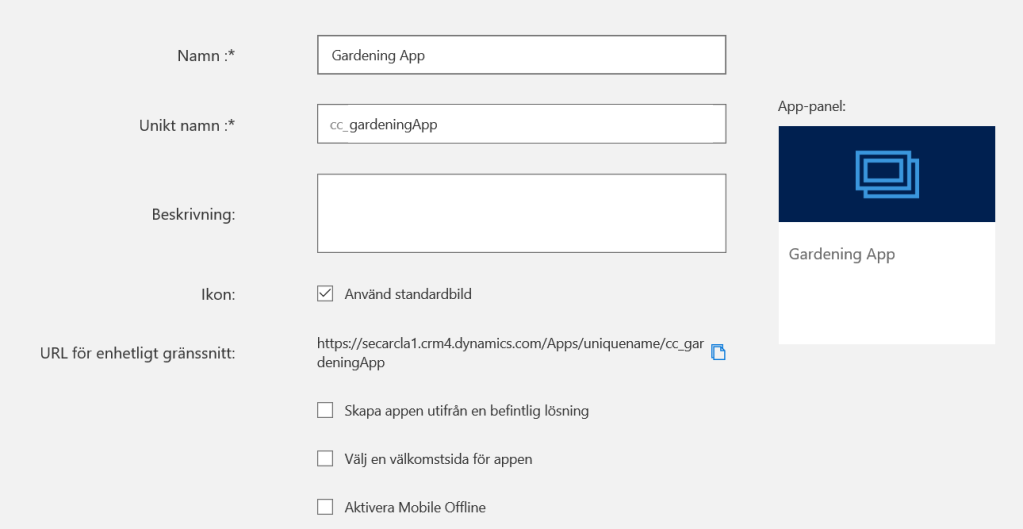
Now let us create a new Model-Driven App in which we can work with our data.

If you work in a solution, hopefully you are, then you go to the solution in order to create the new app.

Give your app a name.
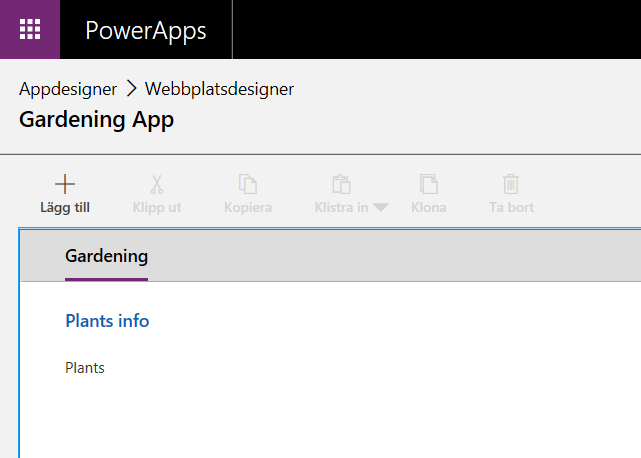
Now let us go and add the newly created entity to our app. Then we first have to open the sitemap.

Next rename the headings and add your entity (Plants in my case).
And then, let us play the App. Sorry for the mix of Swedish and English. The view name would have been Active Plants if my trial environment had been an English-based environment.
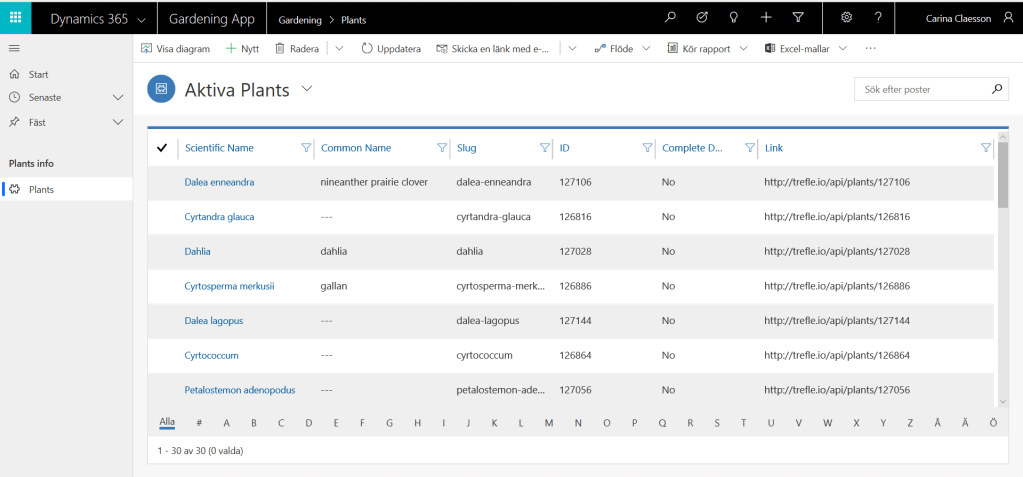
Plants have been loaded in to the CDS. The Trefle API contains much more than 30 plants, however the URL that I used gave med 30 plants since with Trefle the endpoints are paginated by 30 items by default and the URL I used gave me the first page.
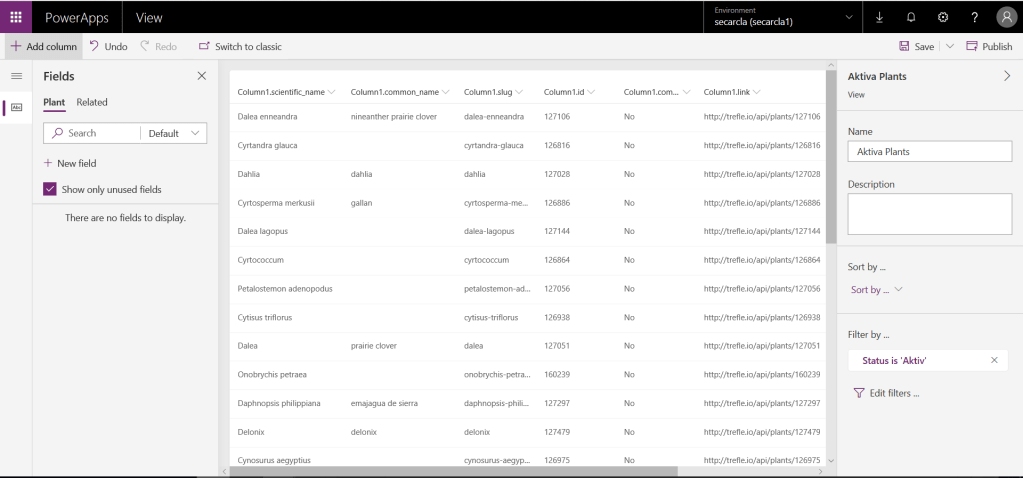
Let us now use the view designer and the entity designer to do some minor adjustments. We will start with some view changes. One thing I really like with the view designer is that you are able to see the data when you are designing your views. With the classic experience you had to guess how much space was needed for each column in order for the data to fit in there.
Now let us look at the entity designer and how to configure fields. Changing the name of a field is easily done by marking the field and there you have the Display name field on top to the right. Then say you are Done, Save and Publish and take a look at the result.
Let us look at the result. Now we have made some minor view changes and changed the display name for the fields. Actually we probably would have been able to do that with Power Query when we setup the Dataflow. I have not tried that though.

In less than 1 hour you can create an app in which you can work with data which comes from another application or database and has been available to you though a Web API. That is pretty awesome. These dataflows can be scheduled as well, if you want to keep the data up to date. Since the data is stored in an entity you could also add extra fields if you want to manage more information in the app on that same entity.
As already mentioned, before you create something like this, think about if you really need the data stored in an entity, perhaps you might want to display it in a Canvas App instead, embedded in a Model-Driven App or not or you might want to take a look at Virtual Entities.
Where to find more info about Dataflows
Dataflows in the Release Notes: Power Platform Dataflows
Blog post from the PowerApps blog: What’s new in Dataflows and Data Integration – September 2019

Great article Carina! I only heard about DataFlows two weeks ago and was looking for somewhere to start over the next few weeks. This is just the ticket!
Thanks.
LikeLike
Thanks! I’m glad you liked it. Good luck with your Dataflows!
LikeLike
This is a terrific summary. Thanks for writing it!
LikeLike
Thanks! I’m glad you liked it!
LikeLike